

Wednesday, July 27, 2011

Friday, July 22, 2011
Timothy's Garden
I'm taking a break from wedding posts to share another aspect of our summer...Timothy's Garden! Each spring Tim blocks off a section of our back yard, rents a tiller and plants a garden.


This summer he planted tomatoes, squash, zucchini, cucumbers, peppers, peppers, peppers, corn and pole beans. In terms of peppers he planted jalapenos, baby bells, regular bells, and baby cajun peppers.
I've got some great photos of the veggies we picked and how we prepared/preserved some of them, but this post is just a visual of his garden in a few growing stages.

a view from the beginning (May)

a view from the beginning (May)

a view later in June

a view later in June
I am so proud of Timothy. He takes such great pride in his garden and works out there almost every night. We never know from year to year which plants will produce the most and best vegetables. Last year we had zucchini coming out of our ears, but this year we didn't have as much luck with zucchini and squash; however, we are rolling in peppers this summer, and I promise a post about Tim's fabulous stuffed peppers recipe. Yummy!

Tomatoes

Peppers

The color of a pepper is determined by how long you leave it on the plant. The longer you wait the peppers turn from green to orange to red!

The start of our pole beans.

Corn! This is the first year we've planted corn and the plants produced about 12 ears.
They were sweet and delicious!
They were sweet and delicious!
One last tip, lay newspaper between your plants and down each row. The newspaper keeps the weeds down and is biodegradable; it makes for nice-neat-weed free rows. Just be sure to continue to replenish your newspaper as it decomposes. Timothy also puts grass clippings from our yard on top of the newspaper each time he mows. Combined with the newspaper, it really cuts back on the weeds and monkey grass. (Thanks to Aunt Martha for this great tip!)
Again, look for future posts about Timothy's garden veggies, recipes and preservation ideas. There's nothing like fresh produce just steps away from the backdoor. Yummy!
Again, look for future posts about Timothy's garden veggies, recipes and preservation ideas. There's nothing like fresh produce just steps away from the backdoor. Yummy!
Kelly Anne
Thursday, July 21, 2011
Wedding Favors - Personalized and Homemade.

Photo taken by Kimberly Ponthieux of Little Moments Photography.
From the beginning, Timothy and I knew that we wanted our favors to be something personal and unique. We brainstormed a few ideas and eventually decided on "Puff Stuff."
Puff was Timothy's grandfather, and he had his very own blend of spices that he used on everything from beef and chicken to vegetables and potatoes. Tim still makes this special blend at home and we use it all the time (it is fabulous on burgers, tater-tots and grilled veggies). We decided to make individualized jars of "Puff Stuff" for each of our guest.
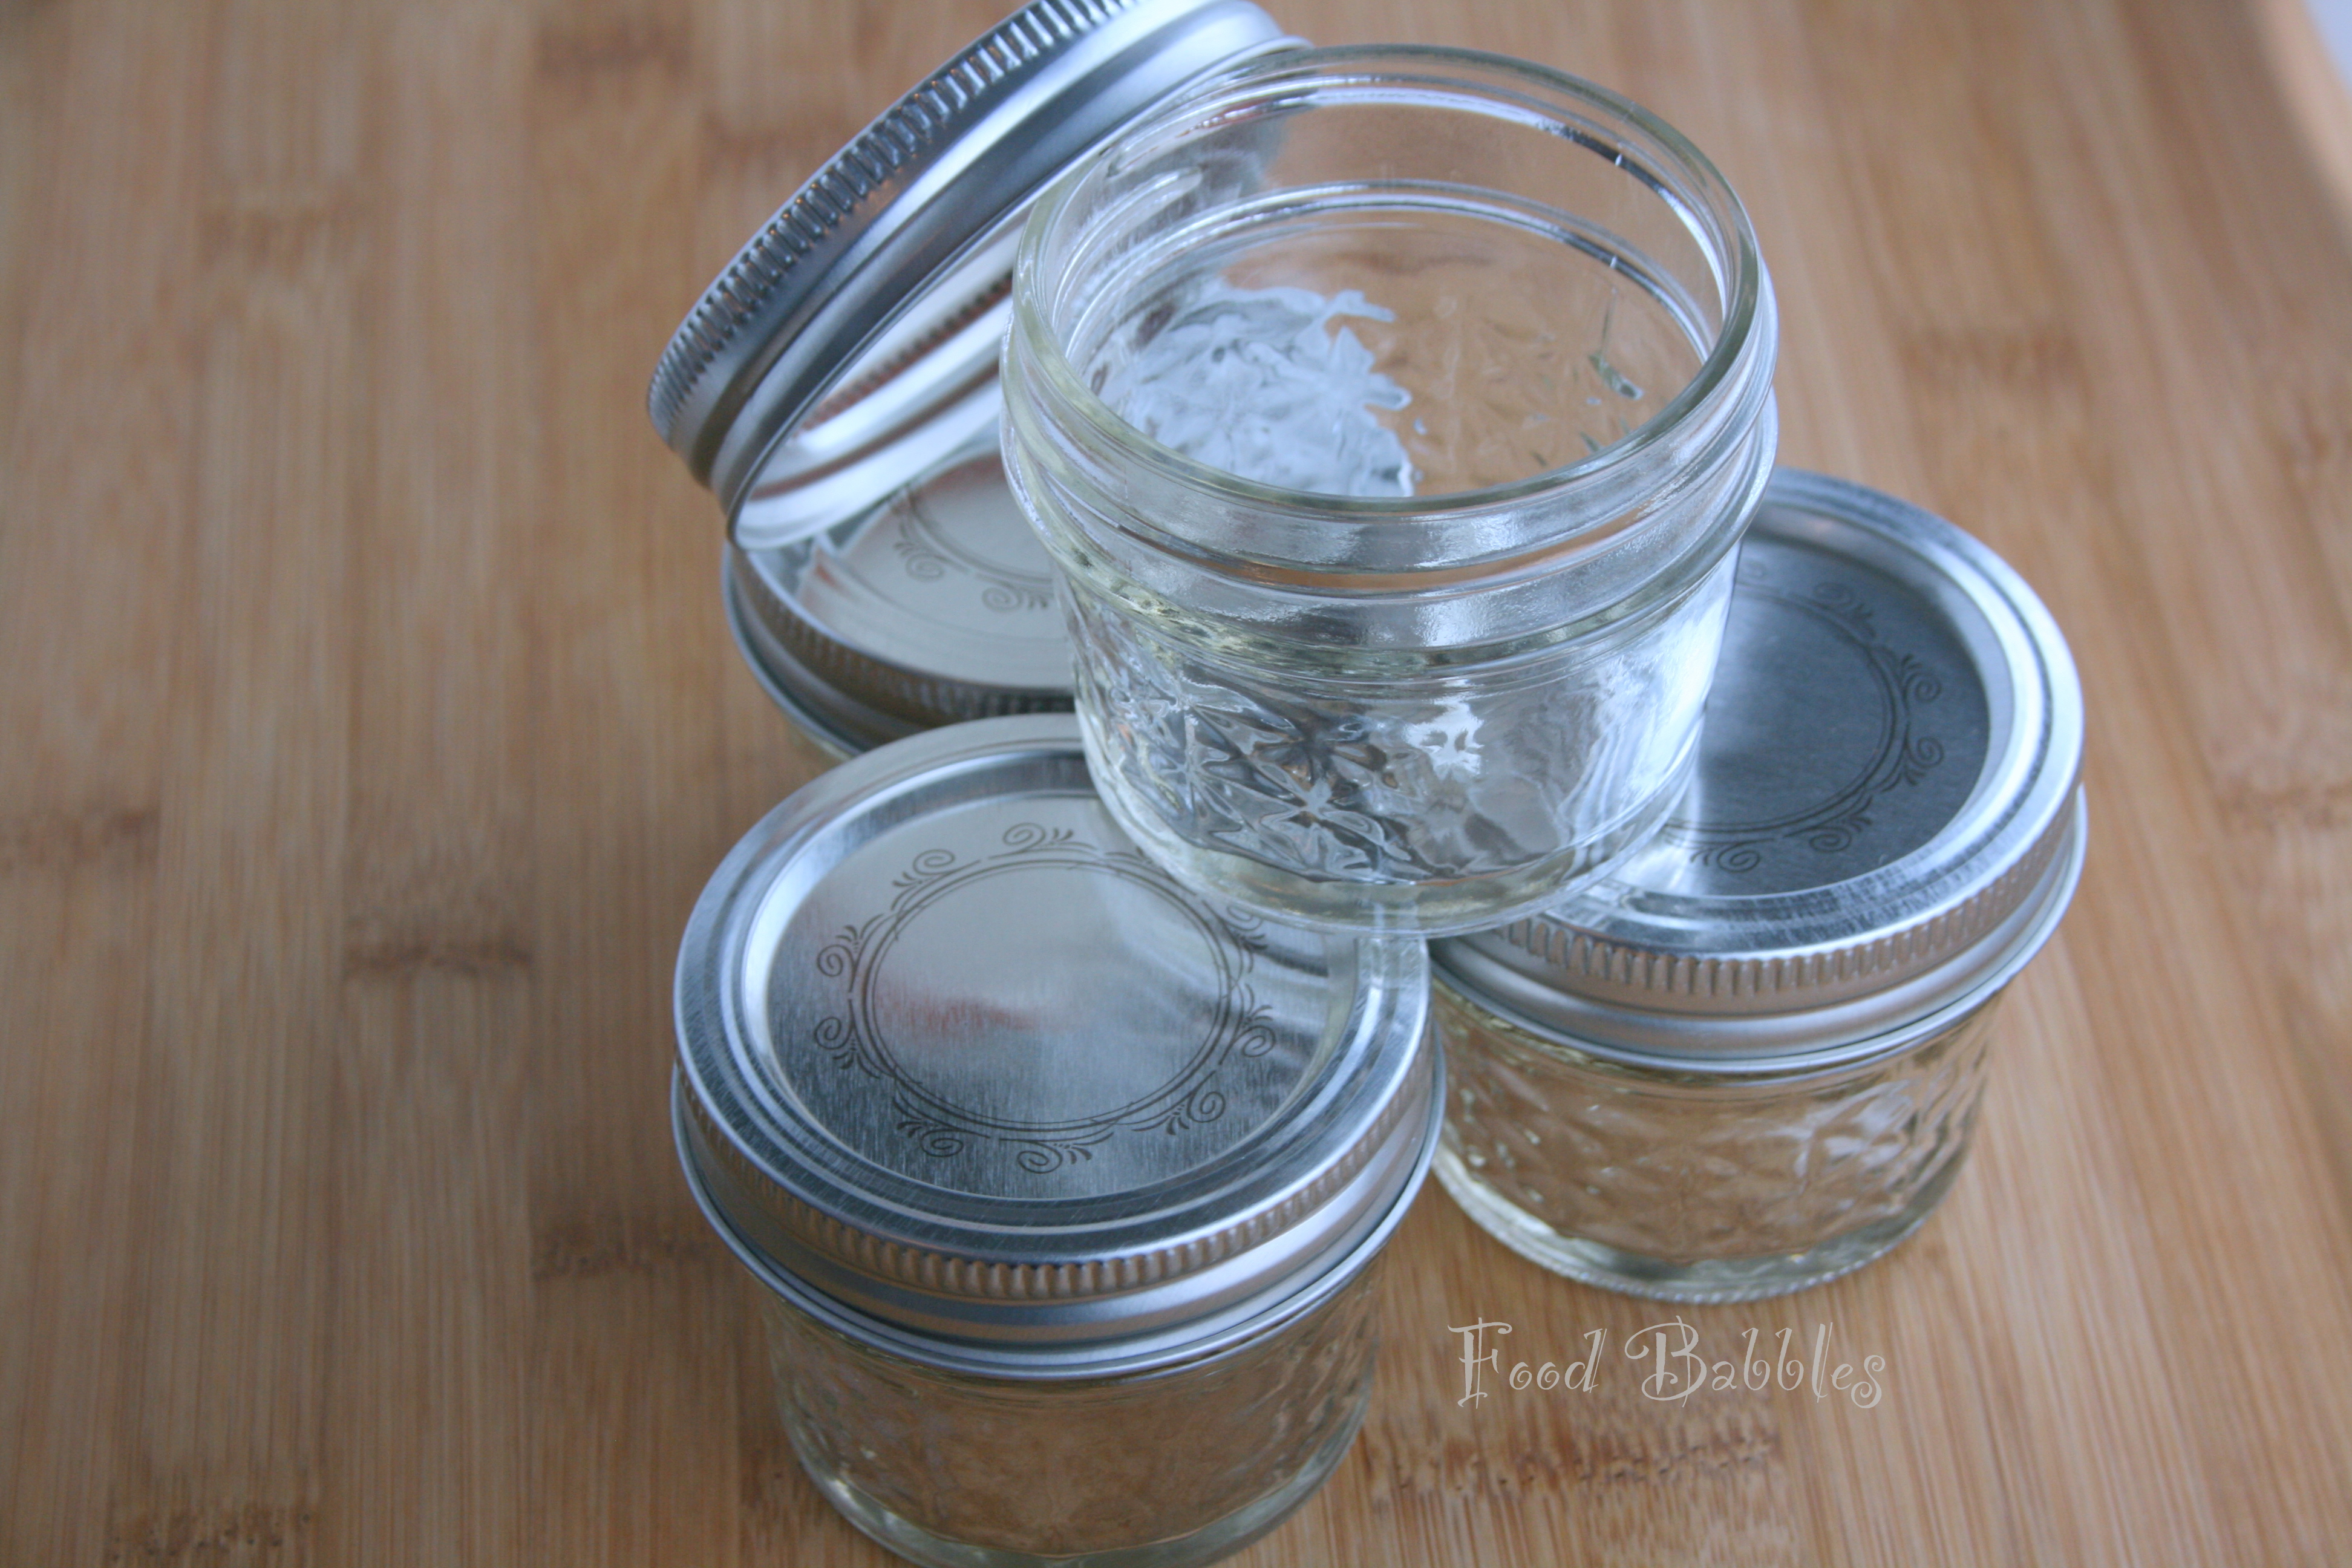

photos copied from a Google image search for mason jars
We started with 120 half-pint mason jars. We purchased our jars online at Ace Hardware and had them shipped to our local store at no additional cost. We washed and dried all the jars, rings and lids.
Next, I created tags to be placed on each jar. The tags were secured on each ring using a small piece of navy blue ribbon.

photo copied from a Google image search for spices
Then, we used a secret mix of spices to create a large batch of "Puff Stuff." We were able to find many of the spices we needed at the Dollar Tree and Family Dollar. A great budget find! We filled each jar with our secret spice mix.

photo copied from a Google image search for apple fabric
We cut squares of fabric just slightly bigger than the opening of the jar.
We used an apple-green fabric that coordinated with our color scheme.
To finish the project, we placed a fabric square on top of the lid and then secured it with the jar ring including description tag.
To finish the project, we placed a fabric square on top of the lid and then secured it with the jar ring including description tag.

Photo taken by Maureen Smith
The apple-green fabric in a picture from our wedding day.
The fabric actually had apples on it!
The fabric actually had apples on it!
The entire project took about three days. This included: wash and dry time for the jars, cutting fabric squares, printing and cutting description tags, attaching tags to jar rings with blue ribbon, multiple trips to multiple stores in Asheville to buy large quantities of the spices needed, filling jars with spice mix, adding the lid, fabric squares and rings to create the final product! Whew! That was a lot, but we had so much fun with this DIY project, and we were glad to include a little piece of Puff on our wedding day.
The biggest expense was all the different spices. However, compared to the pre-made favors that can be found on the web, we saved on our budget by doing these ourselves. And, our spice jars meant so much more to us and they were truly a meaningful favor that represented us and the theme/feel of our wedding day.

photo by Heather Watkins
Kelly Anne
Wednesday, July 20, 2011
Wordless Wednesday.
All photos were taken ad edited by Sam Stroud Photography.
Timothy & I highly recommend Sam; he is amazing!


Kelly Anne
Monday, July 18, 2011
Invitations!

The original plan was to make the invitations myself and to utilize Archiver's (this fabulous specialized paper, stationary and scrapbook store in Raleigh); however, after assessing the project I realized I needed to seek the help of a professional. Natalie is amazing. She is a friend of ours, but also designs and creates invitations and other super-cute stationary products. You can check her out over at her Etsy's shop.
I knew that Natalie would have let me pick her brain for all the tips and tricks of the trade, but I also knew that my knockoff version would never live up to a Vereen-Davis original.
Natalie and I exchanged a number of emails, and I sent her a few inspirational invitation examples. The result was our beautiful-super stylish-very us invitations. I am obsessed with our invites and can't thank Natalie enough! I did torture her with font selection and actually ended up falling in love with her first choice, but Natalie was super patient with me throughout the entire "creative" process.


The only DIY required was the green belly bands. All I had to do was add a small dot of glue and attach our monogrammed medallions. Not bad at all - considering all the work it could have been, had I tackled this project on my own.

Of course we had to stuff, label and stamp our envelopes too. I used Avery Labels and the included software to design ours. It is easy to play around with the font and boarders to make the mailing labels unique.


If you're in the market for invitations for any event or looking for personalized stationary,contact Natalie over at her Etsy site, Crescent Moon Papers!
Kelly Anne
Sunday, July 17, 2011
Save The Dates.
My Save-The-Dates and Invitations probably involved the least amount of DIY effort on my part, but I absolutely loved them both.
For the save-the-dates, we decided on magnets. I spent a significant amount of time searching for the best website to create and order the magnets. However, I soon realized anything tagged "wedding" was pricey, and (being my thrifty self) I was not willing to settle for the higher cost of a refrigerator magnet. After some digging, I discovered that I could make a small-business magnet for half the price.


I used Vista Print. I definitely recommend Vista Print as they always have a great coupon code or weekly deal. We also had a great experience with their customer service department. Our first 65 magnets were not printed as they appeared on Vista's website - we were unable to read the actual wedding date when the magnets arrived. I called and Vista agreed to reprint and resend the magnets (at no additional cost) with in the first few minutes of the call. The second batch was perfect!
The funny thing, we still have the 65 original magnets! Do you need magnets at your house?!
Kelly Anne
For the save-the-dates, we decided on magnets. I spent a significant amount of time searching for the best website to create and order the magnets. However, I soon realized anything tagged "wedding" was pricey, and (being my thrifty self) I was not willing to settle for the higher cost of a refrigerator magnet. After some digging, I discovered that I could make a small-business magnet for half the price.


I was able to create my own design by uploading photos and by inserting text boxes.
The funny thing, we still have the 65 original magnets! Do you need magnets at your house?!
Kelly Anne
Friday, July 15, 2011
Returning from the diy-Wedding Abyss
Just a quick post to let you know that I am alive, well and ready to (re)start blogging! My last post was in April and since that time I have been busy wrapping up the school year and wedding planning/crafting! I always had my camera or smart phone handy, and I have plenty of photo documentation to share very soon. So check back soon and often for all the fun that led to a beautiful-fun filled-perfect wedding day!
And of course a sneak peak to spark your interest…


photo by Kimberly Ponthieux of Little Moments Photography

photo by Rodeny Sadler.
photo stolen and posted on Facebook by Martha Ratcliff :)

photo by Sam Stroud of Sam Stroud Photography
Kelly Anne
Subscribe to:
Posts (Atom)